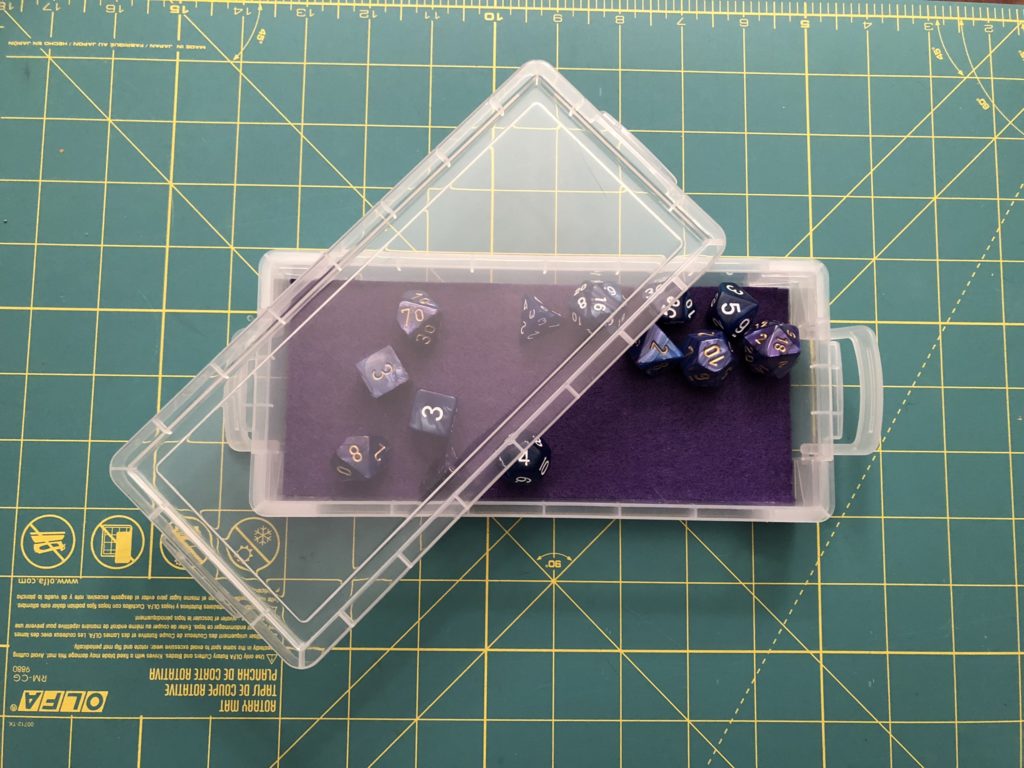
There are a lot of fancy tabletop game accessories out there, but making your own dice rolling tray is both easy and cheap! The version I teach you how to make in this post does double-duty as a way to store and transport your dice and also works as a compact, cushioned rolling tray once you’ve reached the gaming table. Read on, and let’s get crafty!
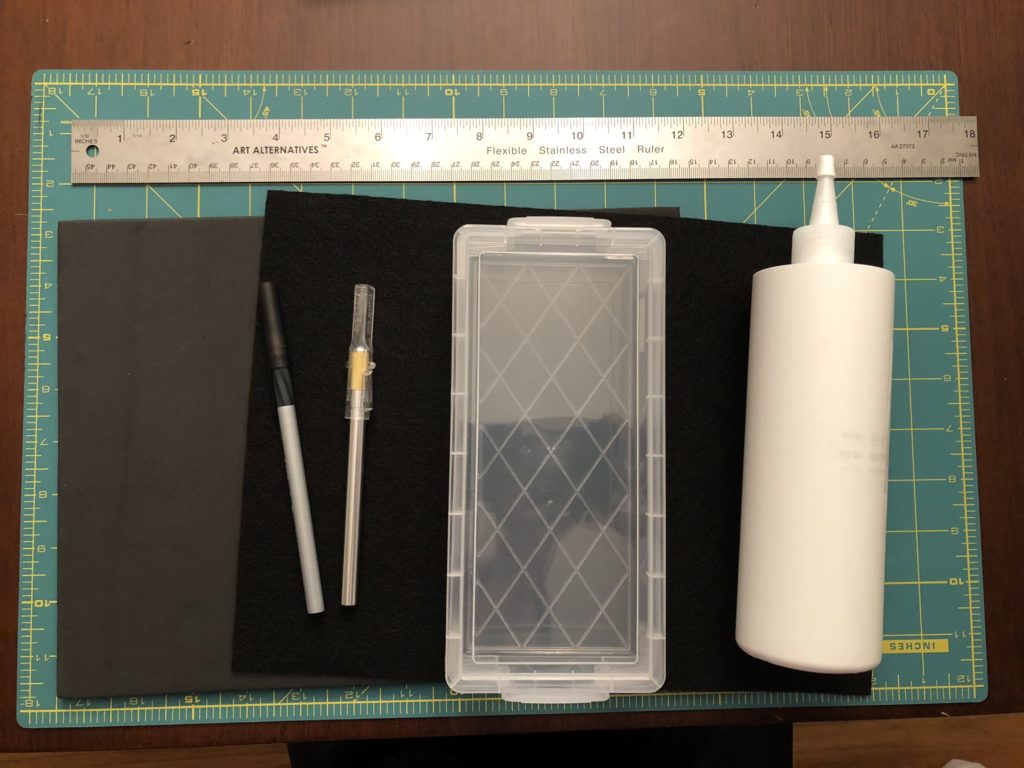
Supplies needed:
— Pencil Box. You can use almost any kind of box or tray for this, but to make a portable storage rolling tray, I used a plastic pencil box with a latched lid. Pencil boxes are the right size and depth to roll in comfortably but are still totally portable. One thing to make sure is that the inside is rectangular and doesn’t have any weird divots in the corners or anything. That will make cutting the foam and felt out more difficult.
— One 8.5″ x 11″ sheet of 6mm craft foam. This is the thicker kind of craft foam you can find at craft stores. It doesn’t matter what color, but I like using black since the box I used is clear.
— One 8.5″ x 11″ piece of felt. Lots of craft stores sell paper-sized loose sheets of felt, so grab one of those! Pick any color or pattern you like!
— Some kind of spreadable glue. Regular white glue should work fine here. I used my bookbinding PVA glue, since I had it on hand. DO NOT use hot glue; it will leave lumps in the surface and will mess up your rolls!
— Scissors and/or a craft knife and cutting mat. Craft knives are great for easily cutting foam, but scissors will also work fine. I recommend nice sharp scissors for cutting the felt.
— A medium paint brush you don’t mind ruining with glue. Don’t use your nice painting brush for this. You just need to be able to smooth the glue out. A foam brush would also work fine.
— A pen or pencil.
— A ruler. Choose a metal or metal-edged ruler if you are using a craft knife to cut your foam.
That’s all you need! Let’s get started.
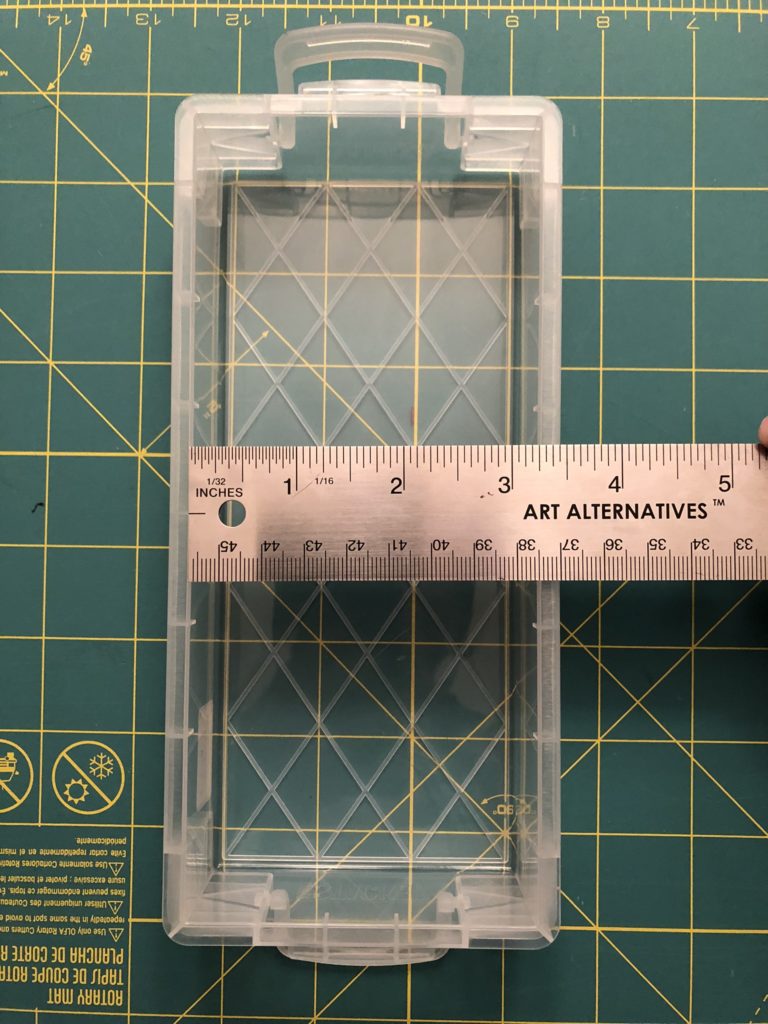
First, measure the inside space of your pencil box. Measure the length and width to the closest millimeter. It’s important to be precise here so that the padding fits perfectly in the bottom of the box and doesn’t leave edges for your dice to fall into.
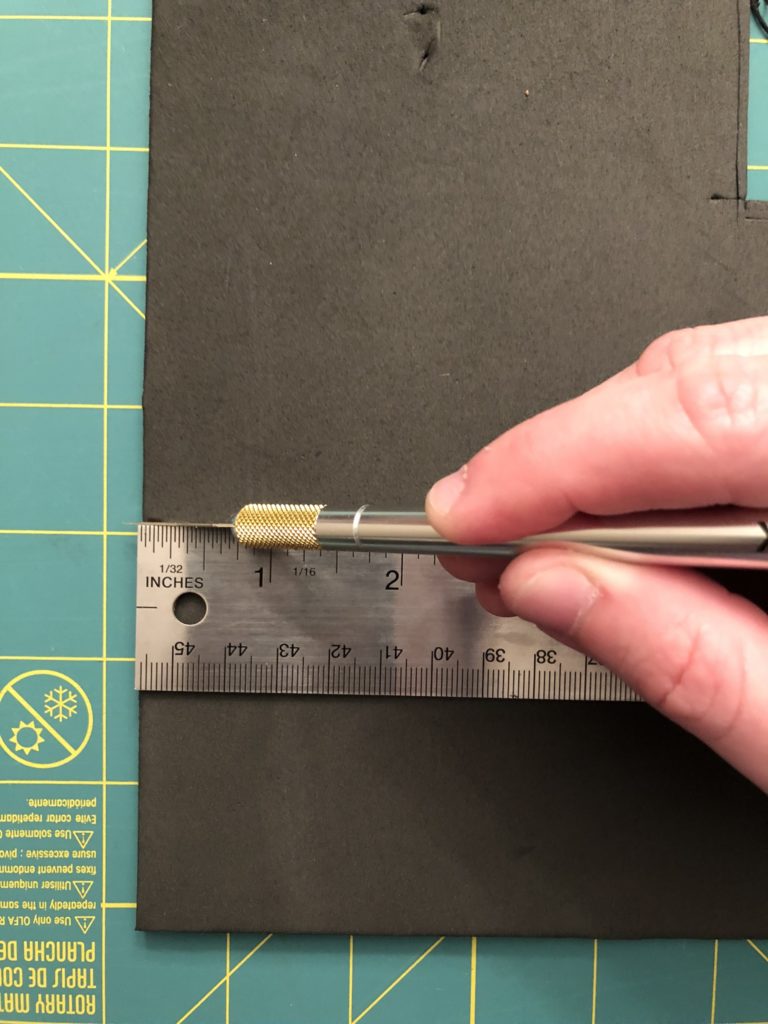
Use your pen or pencil and ruler to draw to size a piece of craft foam. Cut with scissors or craft knife (please be careful when handling blades!).
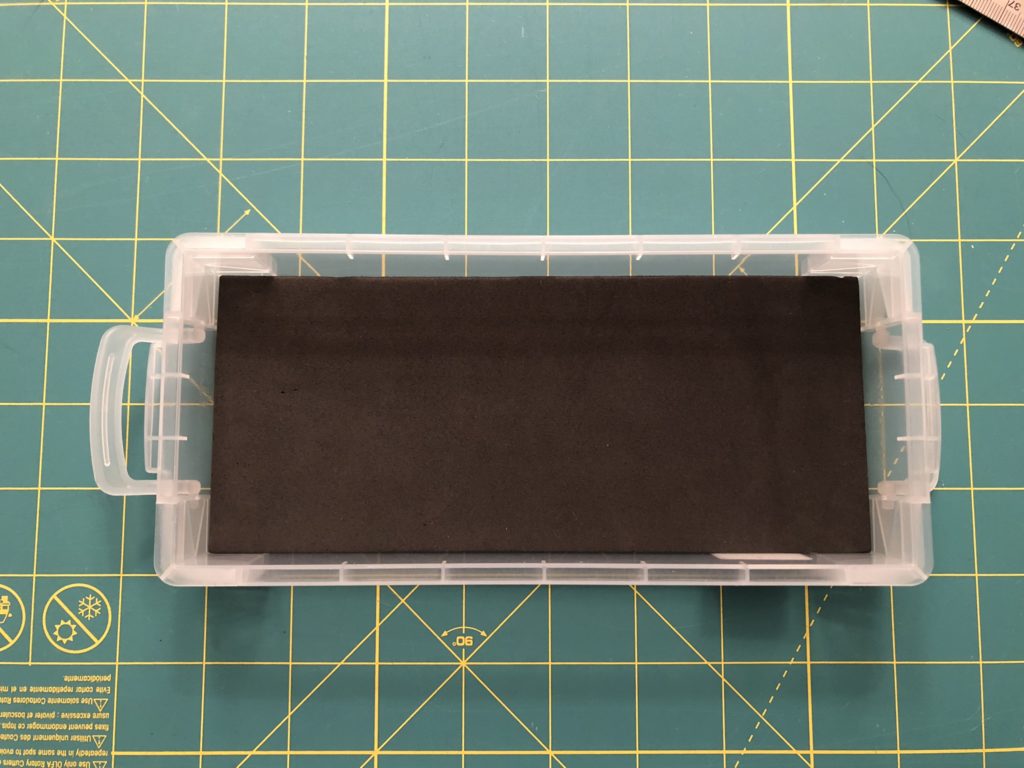
Stick the piece of craft foam in the bottom of the box. It should fit so snugly that you don’t even need glue for this step.

Cut a piece of felt in the same manner. Again, be as precise as possible!
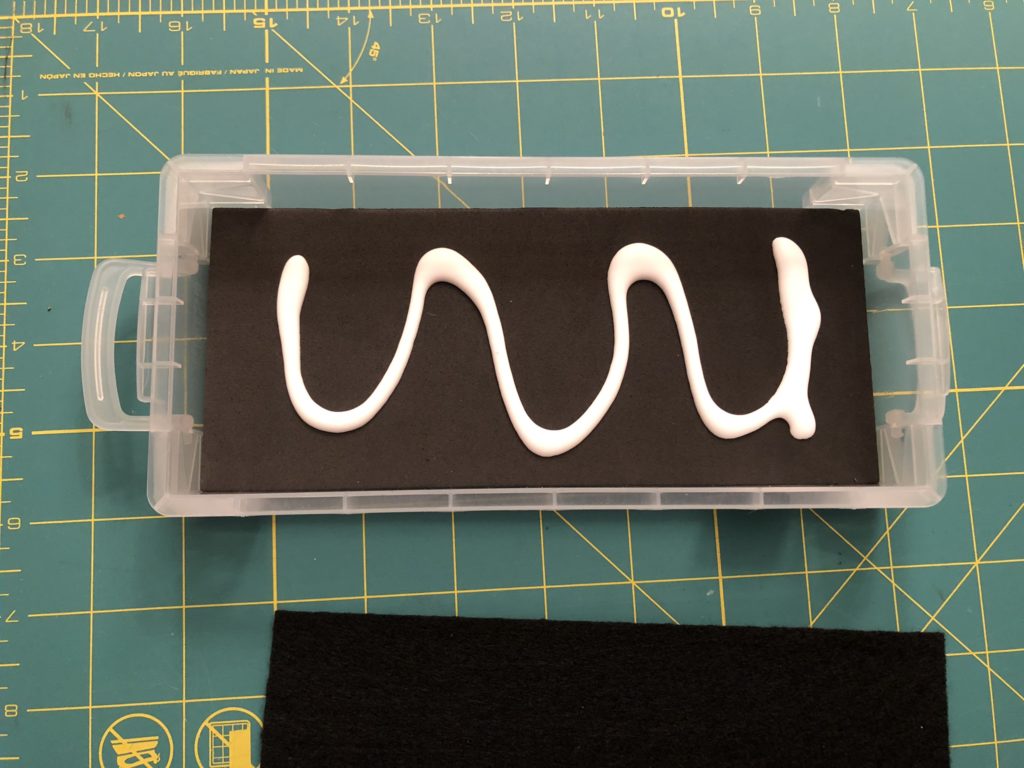
Squirt some glue onto the craft foam.
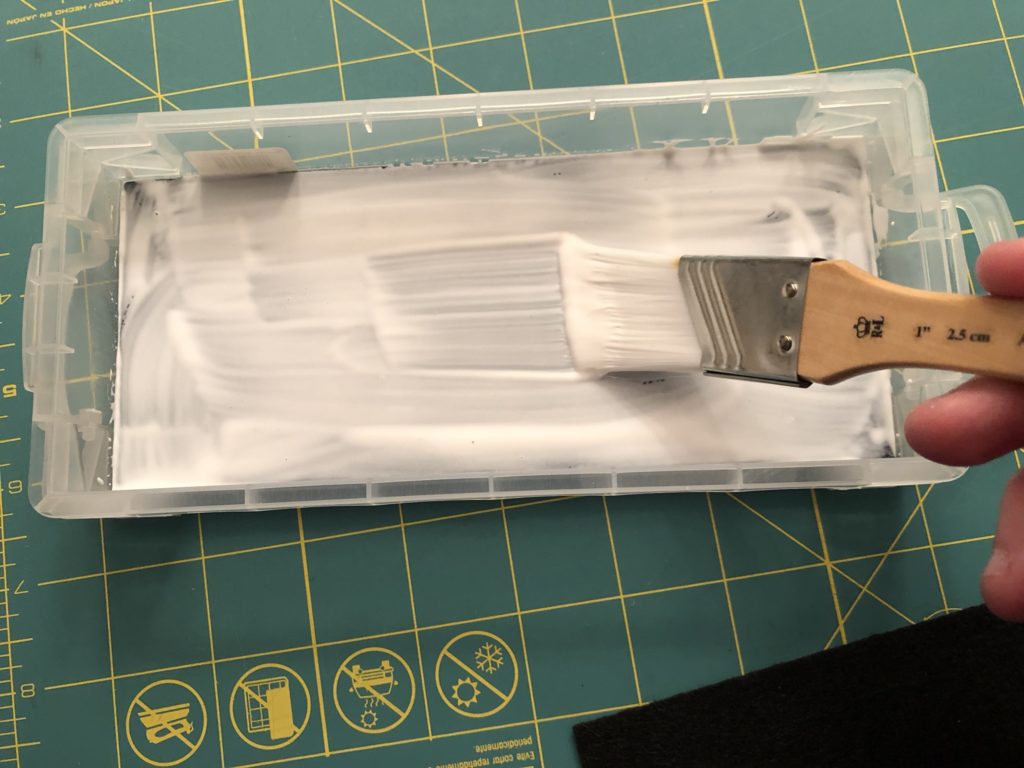
Using your brush, spread out the glue into an even layer, covering the entire piece of craft foam. Make sure to get the edges and corners. If you get some glue on the sides of the box, don’t worry. It should come off easily as it dries.

Put the piece of felt on top of the glue. Start at one corner and gently press down, moving from one end to the other. Rub across the felt once it’s down to make sure it is spread out even and flat.

Use a blunt pencil to push down the corners and make sure they get glued down.

Let dry, and you’re done!
Now you can take your dice anywhere and be ready to roll once you arrive! No more chasing dice across the floor!
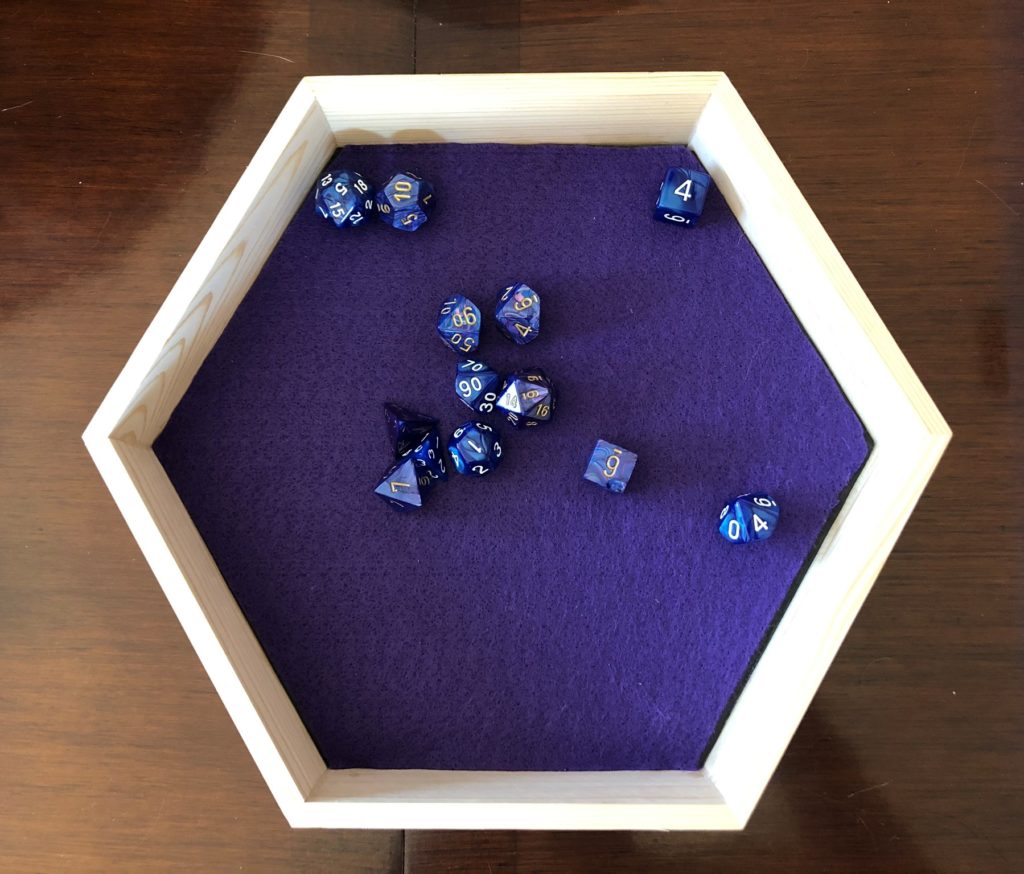
You can use this same method with any kind of box or tray. I found a hexagonal wood tray in the seasonal section of Target and made this at-home rolling tray. Give it a try! And be sure to share your creations online and tag @alexlynncrafts on Twitter or Instagram, I’d love to see them!
Pin the graphic below to save or share this tutorial!
