Last weekend, I went to a great little workshop about e-Textiles in Philly given by Stephanie Vasko. She gave a brief and super-interesting talk about the history of e-Textiles as well as the chemistry behind what makes circuits work, and then we all set about making some simple projects using conductive thread and LEDs. I learned a lot and was so inspired coming out of the workshop, which is the best possible outcome of anything like this. I knew I just had to start incorporating wearable technology into my projects.
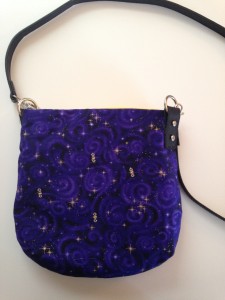
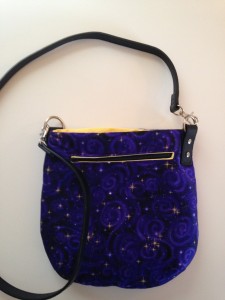
The first result of my tinkering is a little purse with LED stars!
 |
 |
Below the jump, I’ll go in-depth on how I made it, if you’re interested in trying out something similar yourself.
I had the idea for the tote first, and I googled around a bit to find a good pattern to work from. That led me to this pattern; the smaller version was the perfect size, and the one blank side would be a perfect canvas to attach LEDs to. Both the lining fabric and outer fabric are quilting cotton. Aside from the fabric and interfacing specified by the pattern, I also picked up some premade purse notions (two O-ring tabs and a 44″ faux-leather strap) instead of having to make my own strap.
For the light-up stars, I used the LilyTwinkle Kit I had purchased this for use in the workshop; I just tore it out of the simple circuit I had made there. The battery holder in the kit uses one CR2032 coin cell battery, which you can get at the grocery store or pharmacy.
To start, I followed the instructions on the pattern until I had two separate lining pieces with interfacing and darts sewn, and one outer piece with interfacing and darts sewn, and another outer piece with interfacing, darts, and a zippered pocket. At that point, I took the outer piece without the pocket and started working on adding the circuit.
First, I use a small dab of hot glue to attach the tiny LEDs to the right side of the fabric. In most projects, you will want to put the LEDs face-down on the wrong side of the fabric, then snip holes in the fabric so they can be seen, but since the LED plates are a purple that blended in nicely with my fabric, I just put them on the outside.
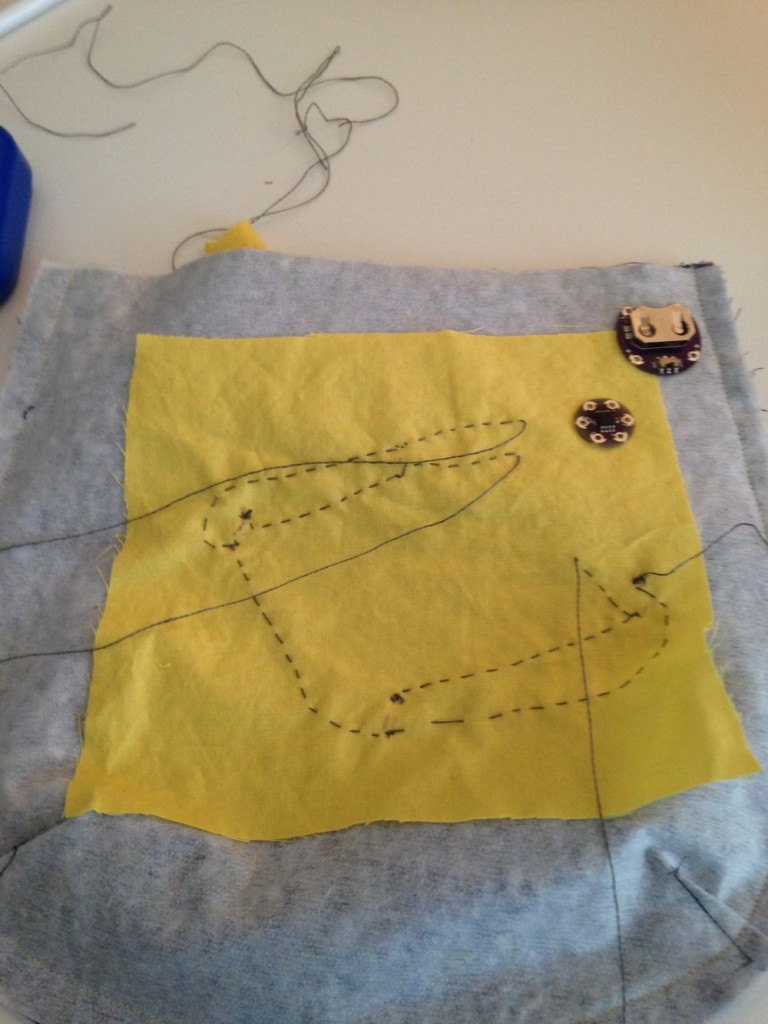
Then I took a scrap piece of yellow lining fabric and pinned it to the wrong side of the outer piece and started sewing my circuit using conductive thread. I sewed the two positive ends of two of the LEDs together, leaving a long tail on the right side that will attached to the LilyTwinkle board, and repeated for the other two LEDs. Then, starting at the top of the fabric and sewing around in a big loop, I connected all the negative ends of the LEDs and left long tails at both ends. After that, the piece looked like this:
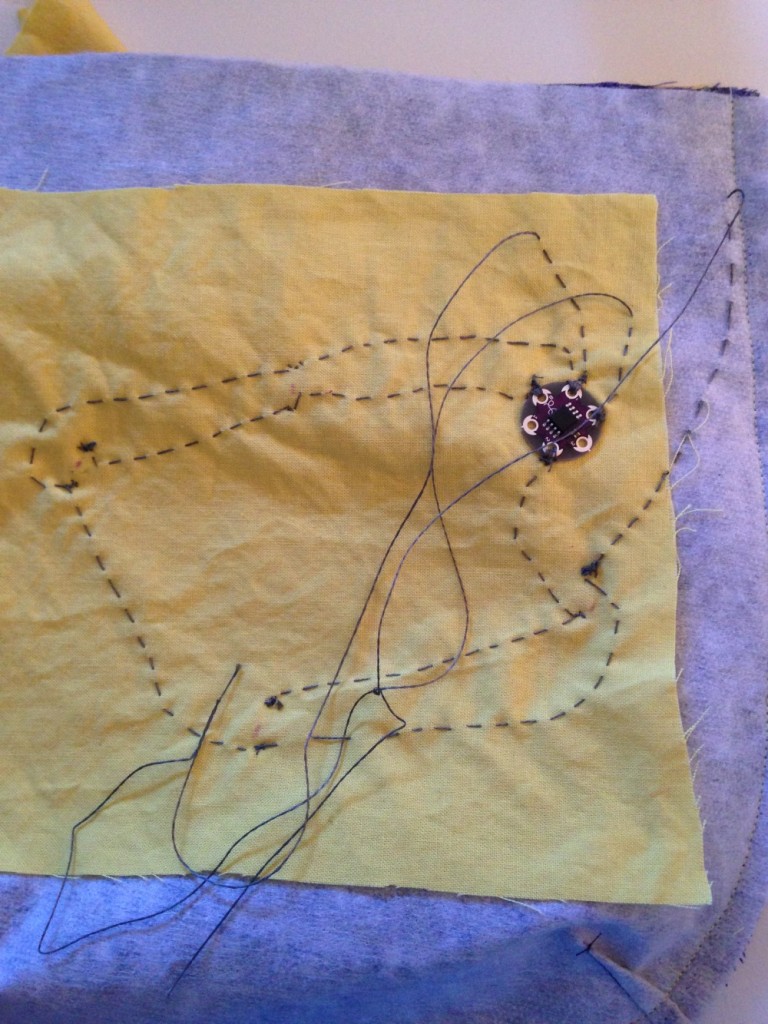
Then I hot-glued the LilyTwinkle board to the upper right corner of the scrap fabric and sewed the two positive ends to two different numbered connections on the LilyTwinkle. One negative end thread was then sewn to the negative connector on the LilyTwinkle, leaving a long tail that will eventually connect to the battery holder. The result looked like this:
As you can see, I did not use a big enough piece of scrap fabric, so I sewed the conductive thread through just the interfacing when I got to the upper right corner there. I also glued down the corners of the scrap fabric with Tacky Glue for stability.
Making sure to keep the long tails of conductive thread out of the way, I sewed the outer pieces to each other along the sides and bottom, right sides together. Then I finished the lining by adding a pocket and sewing them right sides together. I turned the outer pieces right side out and sewed the lining to the outer piece along the top of the bag, leaving half of the side with the circuit in it open in order to turn the bag right side out and fold the finished lining into the interior of the bag.
Then came the trickiest part: connecting the circuit to the battery holder. I hot-glued the battery holder to the top inside corner of the lining fabric, using some paper to make sure the hot glue didn’t go through the fabric and glue the outer layers as well. Then, making sure the threads didn’t cross over each other, I sewed the two negative threads to the negative connectors on the batter holder, and sewed the positive connectors on the battery holder and LilyTwinkle together, completing the circuit.
Since I don’t have alligator clips and wires (yet), I wasn’t able to test the circuit until the entire thing was completed; imagine my relief when it did indeed work!
To finish the bag, I hand-sewed the opening in the top shut using a ladder stitch. Then, I glued and sewed on the ring tabs and attached the strap to them. At this point, I realized I didn’t attach the magnetic closure as instructed in the pattern, so I decided to get some yellow velcro to sew in instead (I figure it is safer for the circuit that way, anyway). One thing I will do in the near future is make a small fabric flap that attaches with a bit of velcro to cover and protect the battery holder inside the bag.
Here are a couple photos of the inside of the bag, with the battery holder attached to the lining:
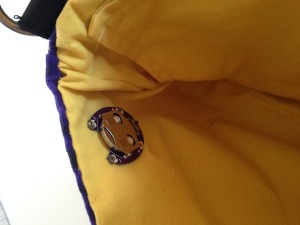 |
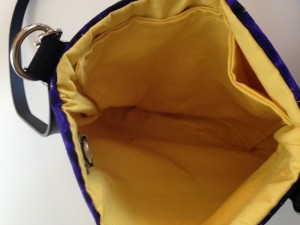 |
And if you want to see the lights in action, here is a short demonstration video I made:
