Last summer, I replaced my old, normal ironing board with a DIY solution. It’s awesome.
It’s inspired by Brooke at Custom Style, and Quilting with Mom. I had piles of stuff on the floor beneath my ironing board. Then I found out about making a custom table with storage underneath. You get more storage space as well as a larger ironing surface, which is great for sewing projects.
I bought a console table on clearance from Target as a base. Then I got fabric, batting, and insulbright from Joann’s (about 1.5 yards each). From Home Depot, a 2′ by 4′ MDF board, some 1″ square dowels cut to the right size, and 1.5″ wood screws. (I also had to get a power drill and staple gun since we didn’t already have those in the house…).
To put it together, I first assembled the console table. This particular piece of furniture is very light, making it easy to flip upside down and trace onto the back of the MDF board. I noticed the table was a bit long, so I only traced on three sides. Then I screwed the dowels to the MDF board along the lines. This made a frame that will hold the board on the table top without having to attach anything to the table.
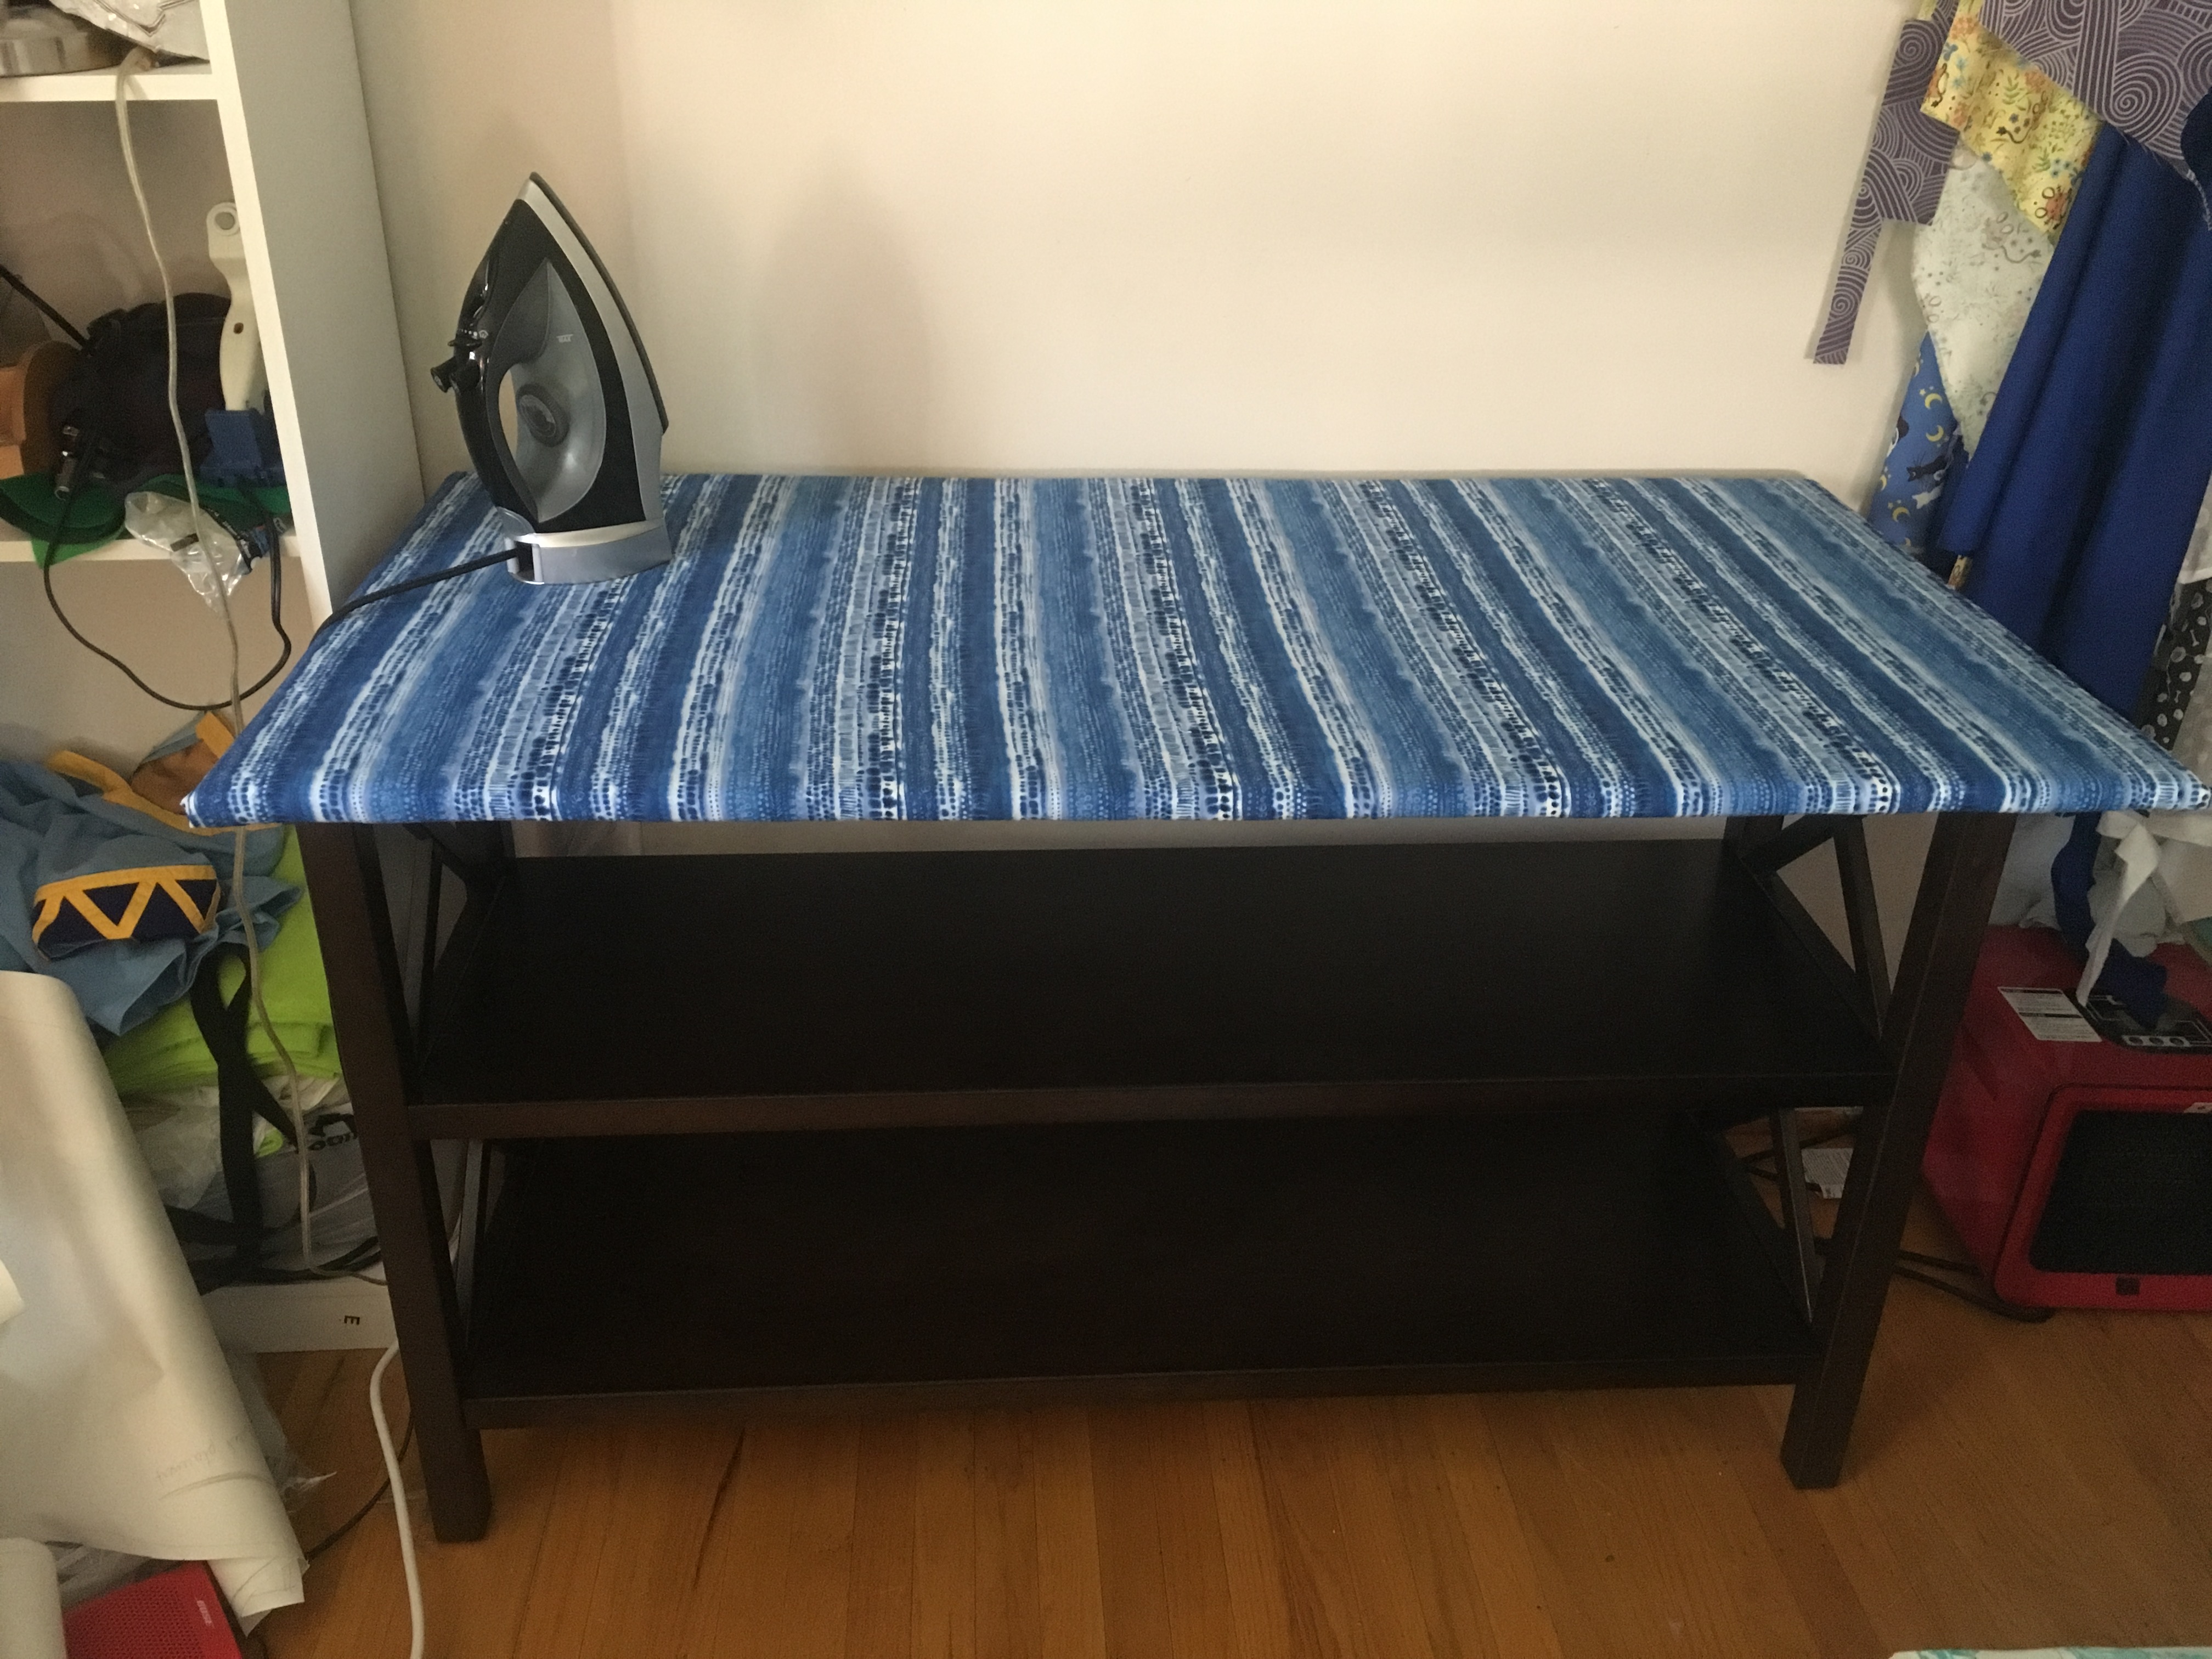
Then all I had to do was create the ironing board itself. I put first the batting down on the floor and put the MDF board on top with the dowel side up. Then I folded the batting over the sides of the board, pulling it as taut as possible, and stapled the batting down. Repeat for the insulbright and the top fabric. The batting provides a slightly cushioned surface, and the insulbright prevents the table top from being burned.
I got a couple wire baskets for the shelves to store things, and I also just have stacks of fabric on there. It’s so much easier to iron large pieces of fabric. And I can keep certain things like my bin of zippers within reach without being in the way. This DIY was pretty easy and highly recommended for anyone with a dedicated sewing room!
It looks so great – so glad you found mine inspirational! I hope you enjoy ironing with your new table for many years!