
Celebrate the release of Animal Crossing New Horizons with this fun and simple DIY! Details below~
You will need the following:
- My drawstring crossbody bag sewing pattern.
- This free star template. Print at 100% or “actual” size.
- 1/2 yard yellow fabric for exterior (cotton woven recommended)
- 1/2 yard lining fabric (cotton woven recommended)
- A scrap of brown cotton woven fabric at least 8″ by 8″
- At least 8″ by 8″ square of Wonder Under
- 1 yard woven fusible interfacing
- 60″ length webbing for straps (I used 1″ wide brown cotton)
- Approximately 24″ length of double fold bias tape in yellow
- Approximately 30″ length of red cord or ribbon (cut a longer length for a larger bow!)
- 2 D-, O-, or rectangle rings matching the width of your strap
- 1 strap slide matching the width of your strap
- Coordinating thread
- Regular sewing supplies (machine, needle and thread, scissors, etc)

First, follow the preparation, then steps 1 and 2 of the pattern.

Follow the directions for the bias tape casing EXCEPT: cut your length of bias tape into two equal lengths, then hem both ends of both pieces. Sew the casing to the bag exterior in the same way as in the pattern, except leave an approximately 1″ gap between the two casing pieces at the center seam.
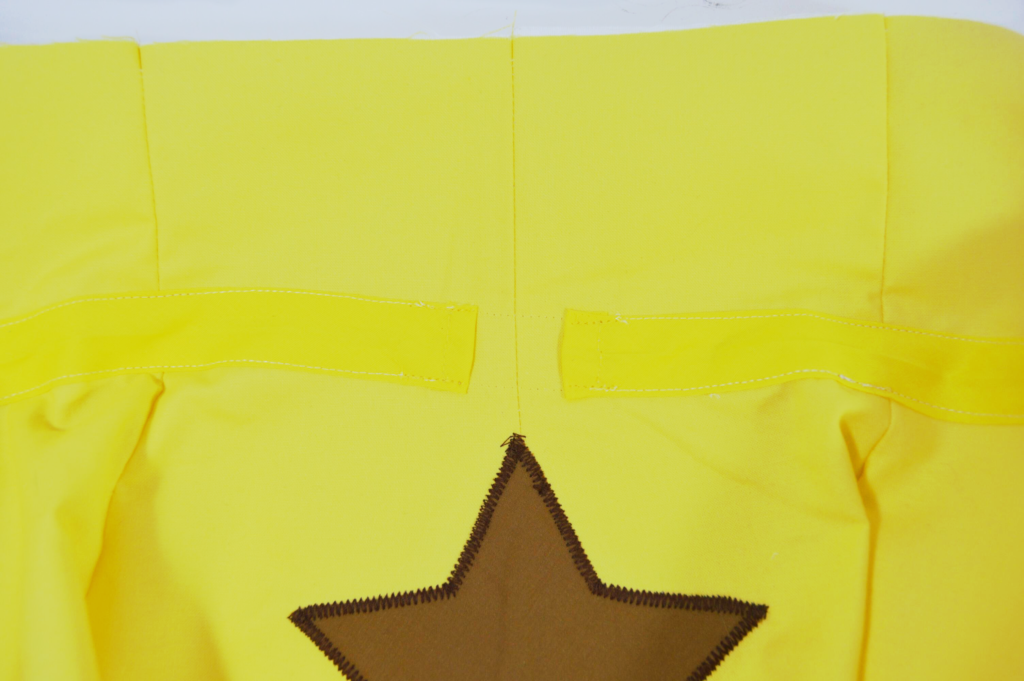
Next, make the star appliqué. Iron a piece of Wonder Under rough side down to the back of the piece of brown fabric.
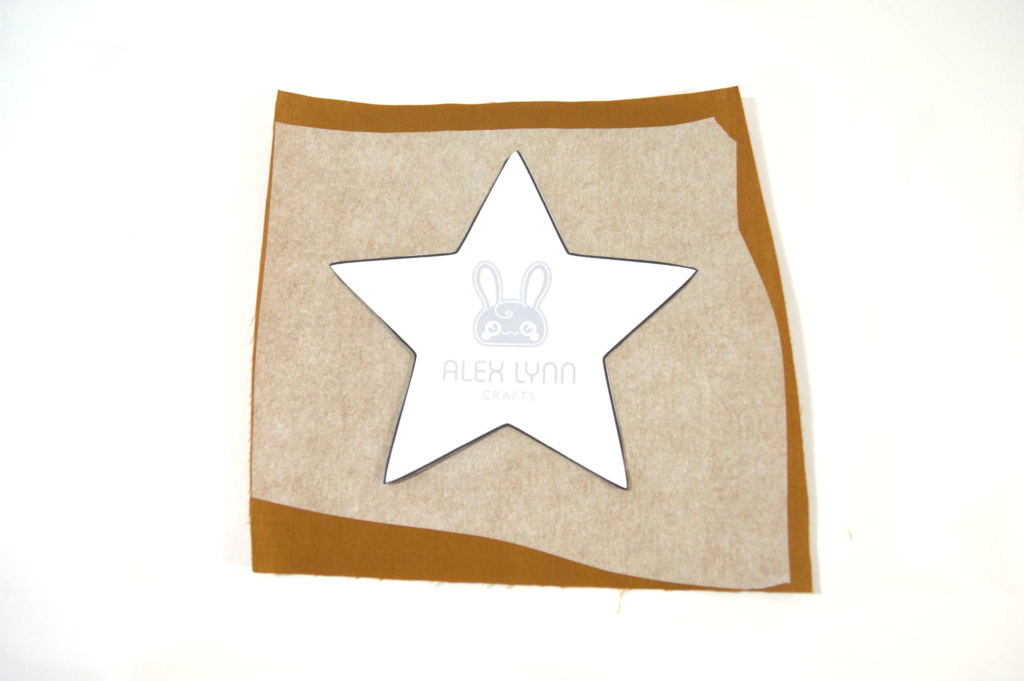
Trace the star template onto the Wonder Under and cut out.
Peel the paper backing from the fused Wonder Under and iron the star to the bag, just under the bias tape casing at the center seam. This will be a little tricky because of the curve in the bag, but just take your time and iron carefully.
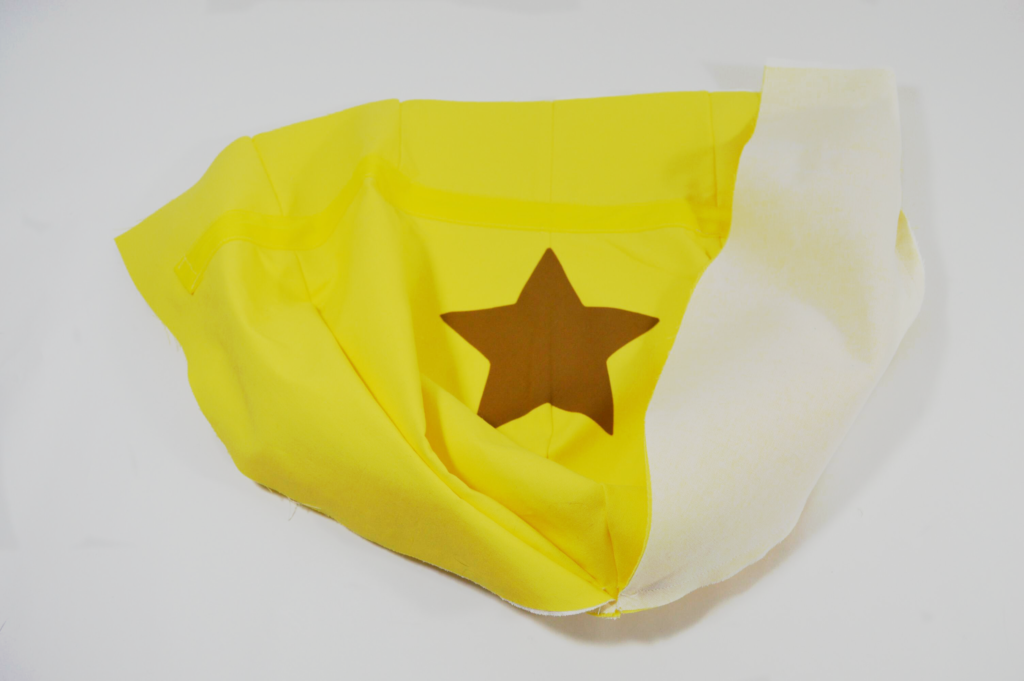
With the star fused to the bag front, use a wide but short zigzag stitch (satin stitch) and brown thread to finish the edges of the star.

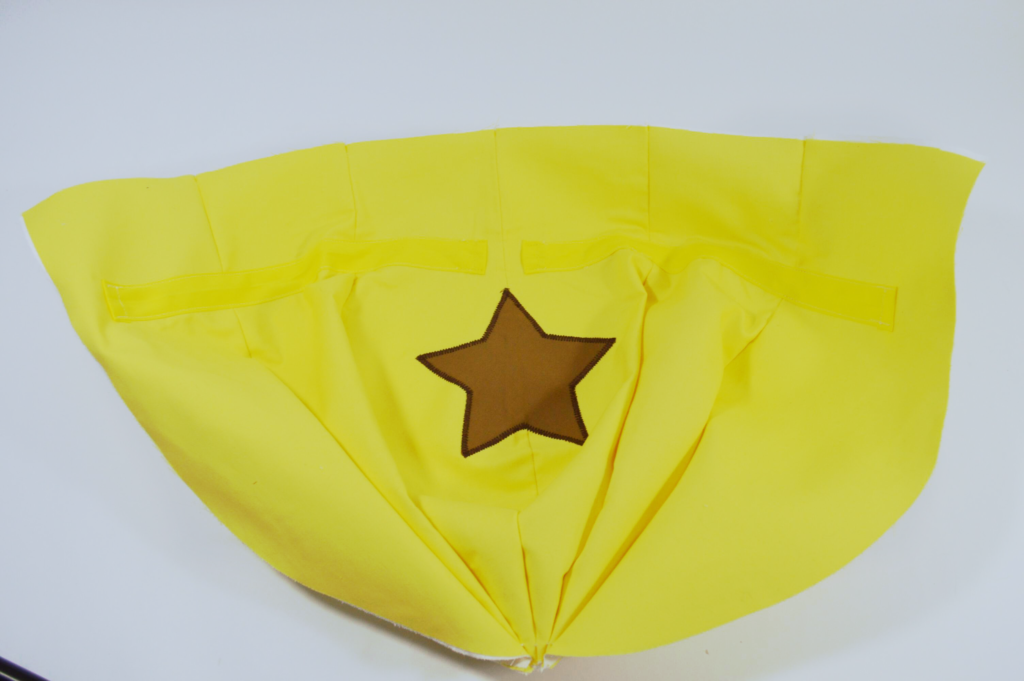
Follow the instructions in the pattern for steps 7-9. For step 10, make sure to sew the strap anchors to the left and right of the star, opposite from each other, as pictured below:
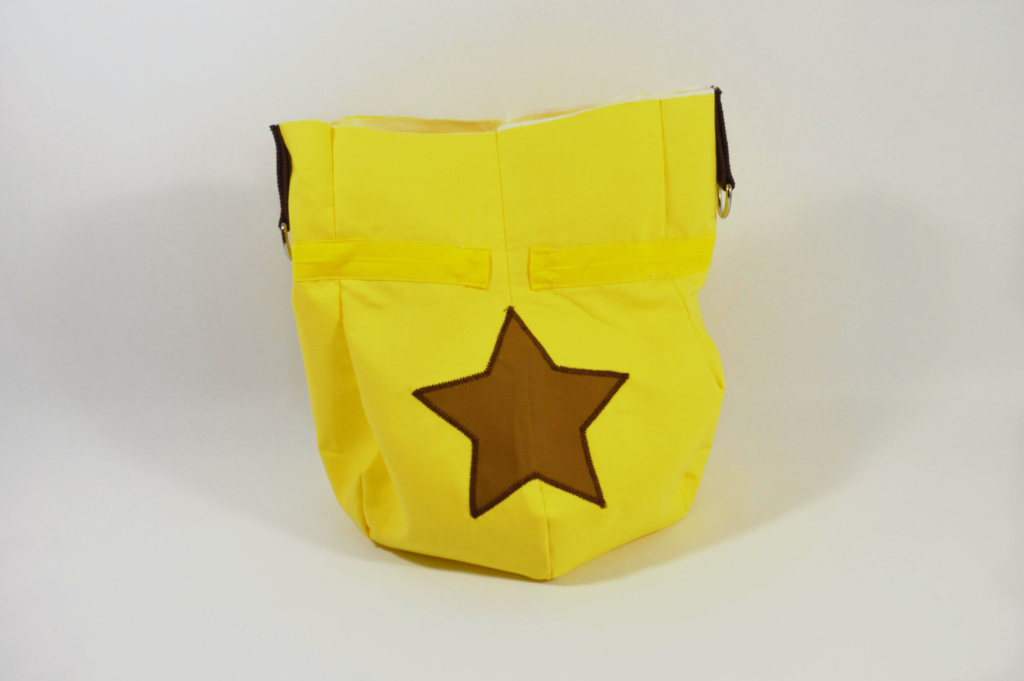
Follow the instructions in the pattern up until the end. Instead of using a spring cord lock to tighten the drawstring, tie a bow! If you want a bigger bow, make your drawstring longer than the recommended length.
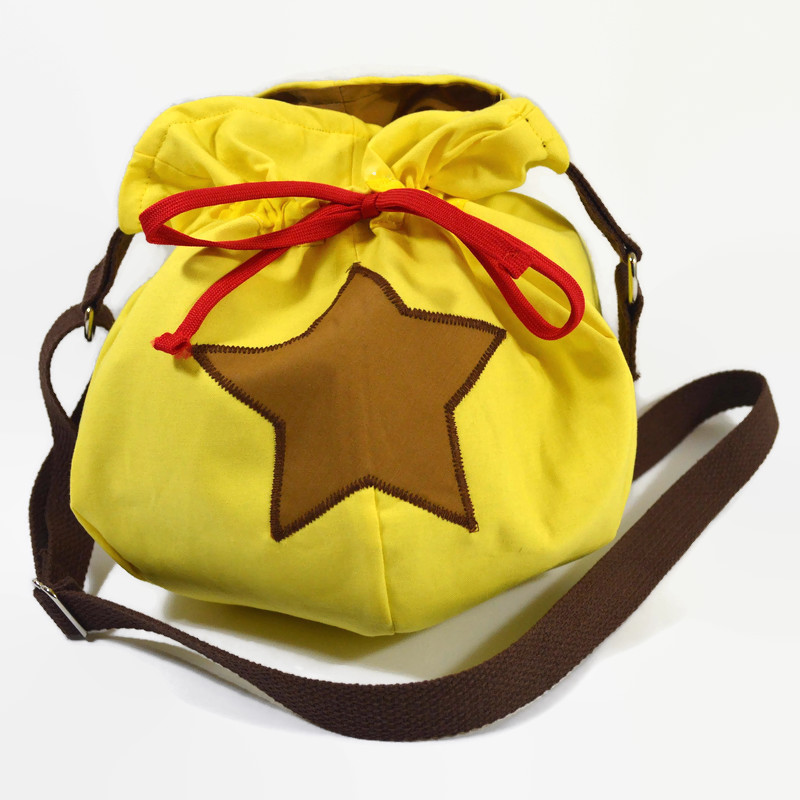
And you are done! Enjoy your adorable new bag!
So, I was going to host a giveaway for the bag I made for this tutorial, but with the pandemic, I didn’t want to run a giveaway without everyone being able to participate. For now, you can buy a bag from me on Etsy, and I’ll hold a giveaway later this year! Take care of yourselves, and have fun sewing and playing Animal Crossing!
This is so cute, thank you for the tutorial!
Animal Crossing Crafts DIY for Kids of All Ages - In Our Spare Time
[…] Make a DIY Bell Bag […]
Thanks for this tutorial! I bought the pattern so my niece and I could make this for her AC loving mum for mothers day :)
That’s amazing! I hope she loves it!