This year, I am getting into quilting! It’s one type of sewing I have not dabbled in yet, and I’m looking forward to learning about it.
I got it in my head that it would be just impossible to quilt without an extension table for my sewing machine. Most modern sewing machines have a “free arm” – the narrow, flat area around the needle where the fabric rests while you are sewing. The free arm goes inside your project so you can sew sleeves, cuffs, bag openings, and more. You’ve probably seen sewing machines that are built into tables and sit flush with the table surface — these machines are great for quilting because the project sits level with the sewing machine, preventing it from falling away from the needle while you sew.
Since a free arm is far more portable and flexible than a sewing machine built into a table, most modern machines are built with the free arm and then sometimes offer an extension table to increase the flat space around the sewing machine for quilting.
Commercial extension tables are expensive because they have to be custom made to fit a specific machine model. I decided to build one on my own instead!
Supplies and tools: Paper, tape, a pen, a 2′ by 4′ board of 1/2″ MDF, 1″ by 1″ brackets, 1/2″ wood screws, wood glue, a jigsaw with wood blade, Dremel with sanding attachment, electric drill, glossy contact paper.

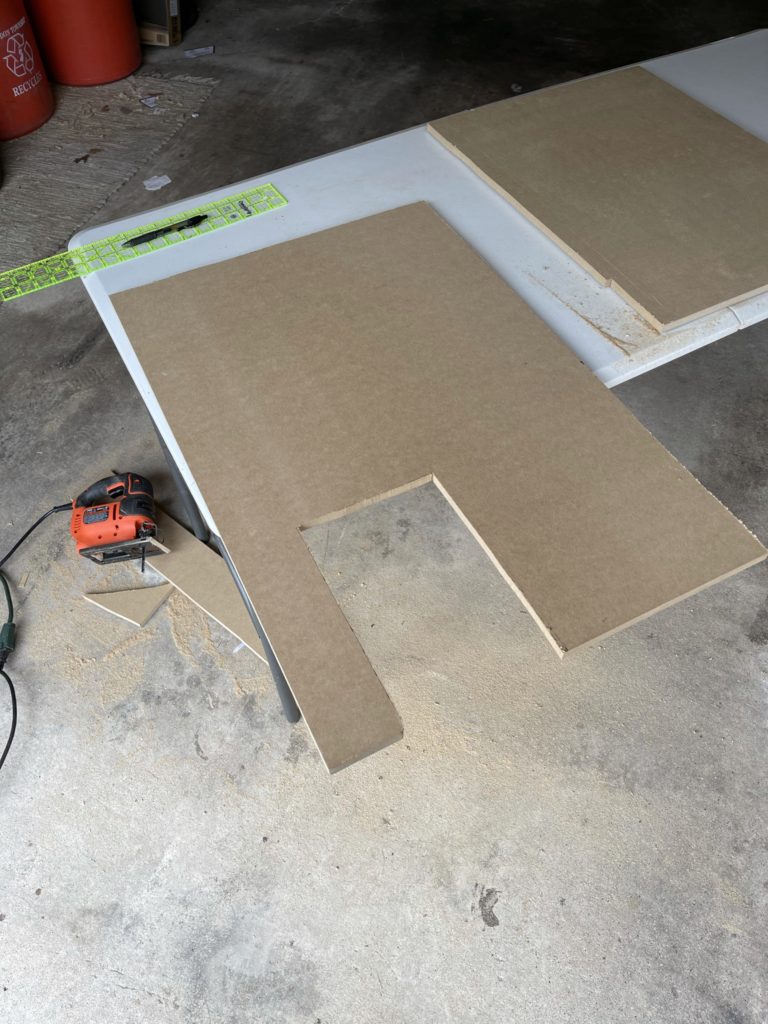
First, I made a paper pattern of the shape of the table that I wanted. It’s just a rectangle 20″ by 30″ with a cutout approximately 7″ by 10″ that fit around my sewing machine.

I traced the paper pattern onto my MDF board and cut it out with a jigsaw. I tested the fit of the opening and ended up having to widen it just a bit.

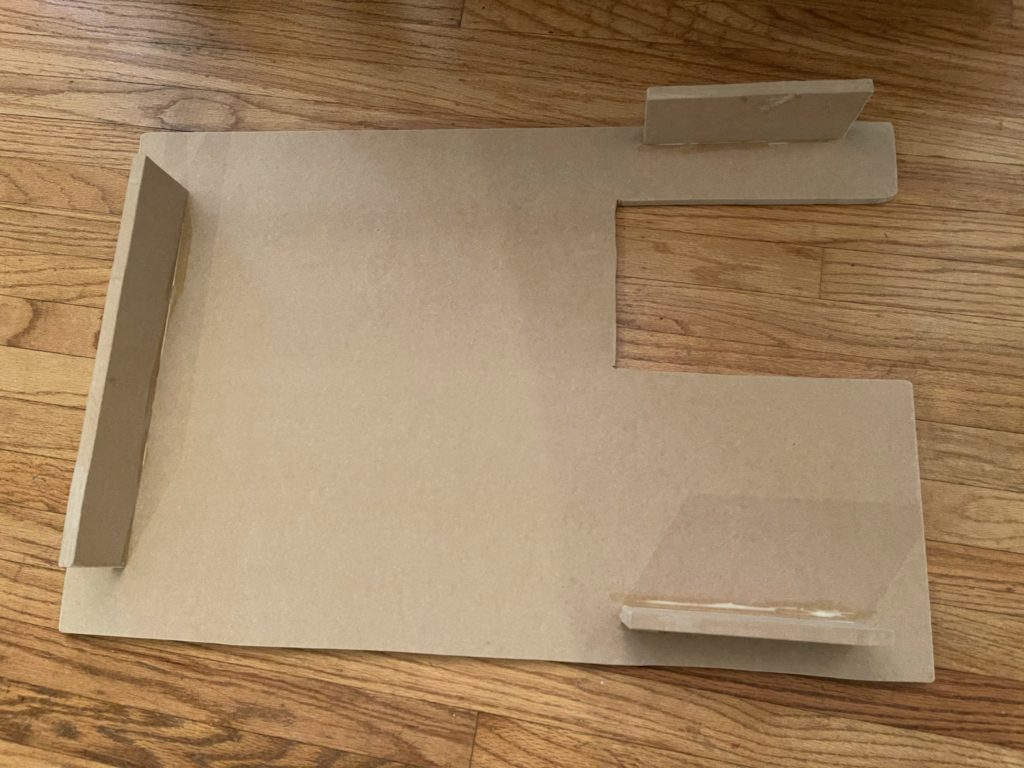
For the legs, I measured how high the table should be and subtracted the width of the MDF, which came out to 3″. I cut a strip of MDF 3″ wide and cut the strip into three pieces to use as table legs.

I sanded down the corners and rough edges with a Dremel, then glued the legs in place with wood glue.

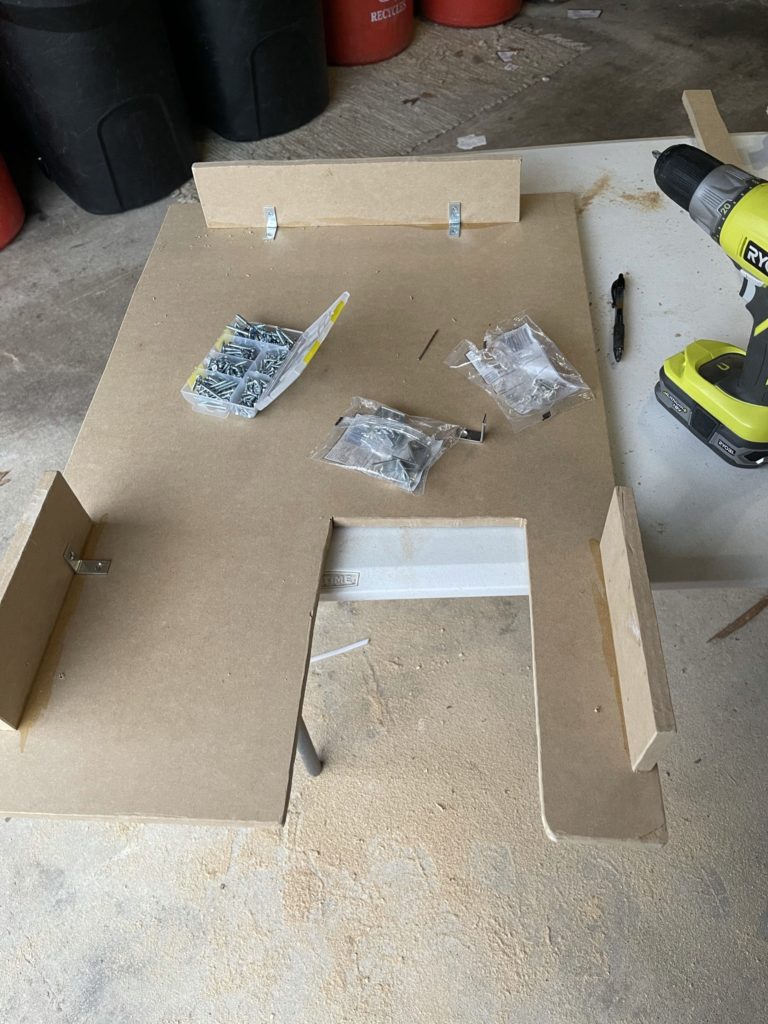
Just an hour or two later, the glue was cured enough to put in the brackets. I marked the screw holes with a pen and drilled pilot holes, then screwed the brackets in place with the wood screws.

The table was basically done at this point, although the surface wasn’t as smooth as I needed it to be. So I covered the top in glossy, marble-look contact paper, which did the trick! Fabric slides so easily across the surface.
All together, the supplies cost about $35 (although I did need to buy wood blades for the jigsaw, an additional $10). The construction wasn’t difficult or time-consuming, either–just a few hours on a Saturday. If you are interested in some simple woodworking, this is a great project to tackle!
I am unable to find one that fits a viking 400. I really like how you made yours. Thank you for your idea/directions to make this
Hi Colleen, so glad I could help!